Creating a Menu Screen and Adding Screen Items
Menu screens contain your menu entries and transformers. Menu screens are assigned to a Menu Screen Group. Menu Screen Groups are then assigned to departments.
The page lists existing menu screens. You can search for menu entries using the search bar. To edit a menu screen, search for and click the menu screen's name. The instructions below detail how to create (add) a new menu screen. These instructions can also be used to edit existing menu screens.
The Add Menu Screen page contains the General, Layout, and Schedule tabs.
- On the Daily Setup > Menu Screens page, click Add Menu Screen.
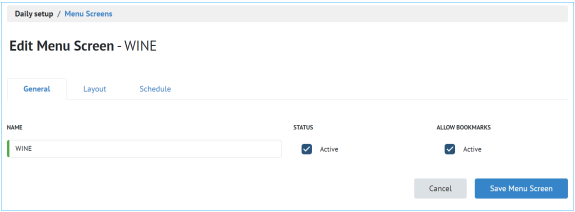
- The Add Menu Screen page appears, with the General tab active. Remain on the General tab and complete the following fields:
- Name: Enter the name of the menu screen.
- Status: Enable this flag if you want the menu screen to appear at POS.
- Allow Bookmarks:Enable this flag if you want your menu items to be organized by the menu item category.
- Display Order: Enter a numerical value. This value is used to determine the order the screens appear at POS.
- Click the Layout tab at the top of the page.
- Under Add Screen Items > Type, select a menu entry type or a transformer (and Category, if you selected a menu entry). A list of all items of the selected type and category displays.
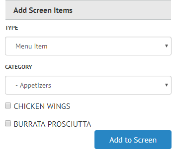
- Select the desired menu entries or transformers to add to the screen and click Add to Screen.
Select All or Select None option will allow you select or deselect an entire category.
- Repeat steps 4 and 5 as needed to add any other items to the screen.
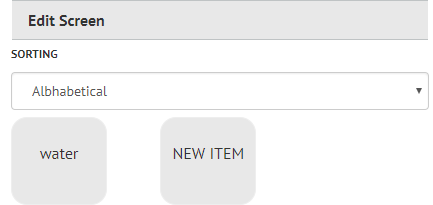
- The item appears under Edit Screen. Sort the screen by selecting an option under the Sorting dropdown menu. Selecting Alphabetical will sort the screen alphabetically. Selecting Custom allows you to click and drag menu entries for a custom order.
- Click the Schedule tab at the top of the page. Select (and configure) one of the following options:
- Always: The menu screen is always available
- Weekly: Set a time period for the menu screen to be available each day of the week
- Specific: Set a specific date and time range the menu screen is available


NOTE: By default, menu screens are not restricted to a schedule and are set to Always.
- Click Save Menu Screen.