Adding a Store
Stores are individual locations. Departments are assigned to a store (and revenue center) when they are created.
The Store page defines a location's regional, time zone, business day start time, identification information, customer display configuration, and the FoH layout on the POS terminals.
The Add Store page consists of the General, Customer Display, Countdown, Terminals (future use) and FoH Layout tabs.
- On the Advanced Setup > Stores page, click Add Store. The Add Store page appears with the General tab active.
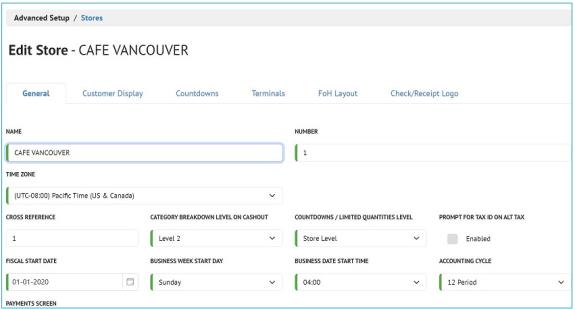
- Remain on the General tab and complete the following fields. Note fields with a red stripe are required information and will turn green when complete.
- Name: Enter the name of the store.
- Number: Enter the store's number. This determines the order in which stores appears on the Stores page and when users select a store at POS.
- Region: Select a region for the store.
- Time Zone: Select a time zone for the store.
- Cross Reference (Optional): Enter a unique cross-reference number for the store.
- Category Breakdown Level on Cashout: Defines how many levels of categories are broken down on cashouts. The category breakdown will add the total from any child categories to the selected level.
- Countdowns / Limited Quantities Level: Choose between Department Level or Store Level. Countdowns / Limited Quantities are configured under the Countdowns tab.
- Department Level: The count is configurable for individual departments in the store.
- Store Level: All counts are on a store level. All departments configured for the store will have the same count for each specified menu item.
- Prompt for Tax ID on Alt Tax: Prompts for a Tax Identification Number (Tax ID) when applying an alternate tax rate. The Tax ID is recorded in the Alternate Tax Report.
- Fiscal Start Date: Enter the start date of the store's fiscal year. A fiscal year is usually expressed as the start of a quarter. This determines when the store's fiscal year ends and begins for reporting purposes.
NOTE: Fiscal Setup fields in the Labor Setup screen allow you to enter separate labor fiscal information for cases where the pay periods are different from the fiscal periods.
- Business Week Start Day: Select a weekday as the start of your business week. This determines when the store's business week ends and begins for reporting purposes.
- Business Date Start Time: Use the Select Hour and Select Minute fields to choose a starting time for the store's business day. This determines when the store's business day ends and begins for reporting purposes.
- Accounting Cycle: Division of the fiscal year. The choices are 12 Period, 13 Period or 445 Periods.
-
12 Period: choose this for a monthly accounting cycle. If the accounting cycle is 12 periods the Fiscal Start Date must be the first day of the month.
-
13 Period: choose this for a 13 period accounting cycle. If the accounting cycle is13 periods, the day of the week that matches the fiscal start date must be set as the Business Week Start Day.
-
445 Period: choose this for a 445 period accounting cycle. If the accounting cycle is 445, the day of the week that matches the fiscal start date must be set as the Business Week Start Day.
- Payments Screen: Select from the drop-down list the default payment screen for the Store.
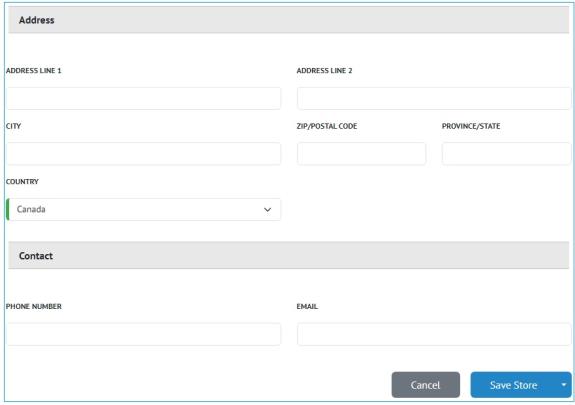
The Address and Contact sections are optional, less the Country field, which must be filled. The remaining fields can be completed with the address information for the store, and the contact information for the store's owner or manager.
The following tabs are optional settings;
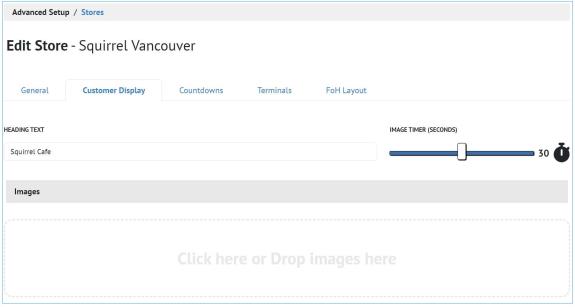
Customer Display tab
- If you want to configure the store's customer display, click the Customer Display tab. Note the Customer Display System also requires a separate app, which is available in the Windows Store, iOS App Store, and Android Google Play (Squirrel Cloud CDS). On the Customer Display tab, complete the following: Otherwise, skip to the next step.
- Heading Text: Enter the text that will appear at the heading of your displayed image(s).
- Image Timer (Seconds): Slide to select a time (in seconds) for images to change if multiple images are uploaded.
After those two fields are completed, you can upload images.
- Click here or Drop images here: Click here and upload the images to use on your rear display. Optimal image size and resolution will depend on the rear display being used.
Uploaded images can be removed by clicking the Delete button beneath the image.
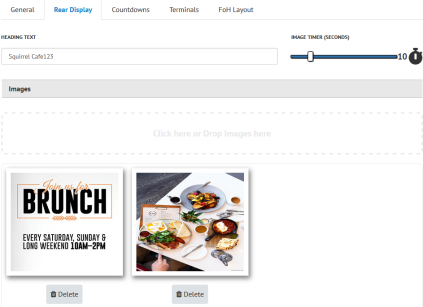
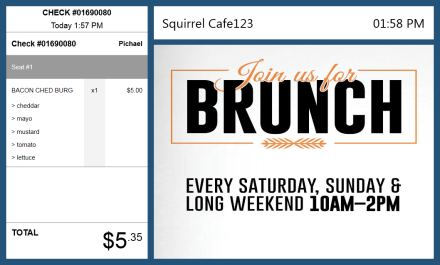
Uploaded images appear on the customer-facing display alongside the check and beneath the Heading Text / Time.
- See POS Settings on how to connect the Squirrel Cloud CDS app to your Squirrel Cloud system
Customer Display tab
- Click the Countdowns tab. This tab allows you to configure available quantities for menu entries in all the store's departments if the Countdowns / Limited Quantities Level field was set to Store Level, or for individual departments if the Countdowns / Limited Quantities Level field was set to Department Level.
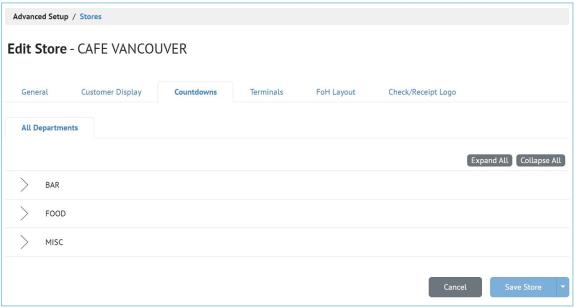
- Select a department at the top of the screen. (Department Level only.)
- Expand the category trees to locate the desired menu entry, then select one of the following options.
- Unlimited: No countdown or inhibition of the selected menu entry. Menu entries are assigned to this by default.
- Daily Countdown: This menu entry has a daily limit. This limit resets when the business day starts. Fill in the left-most field with the daily limit. The right-most field displays the real-time amount of items left on the countdown.
- Limited Countdown: Sets a one-time limit on how many items can be ordered. Does not reset automatically.
- Repeat for other applicable categories / menu entries.
FOH Layout tab
- Click the FoH Layout tab. This tab allows you to configure the location of the menu tabs on the POS terminals, choose to use a landing page, and to configure the bookmark image setting.
-
Menu Tab Position
- Side: Tabs are located on the right-hand side of the menu entries.
Top: Tabs are located on the top of the POS screen, under the search bar and above the menu entries. - Middle: Tabs are located between the onscreen check and the menu entries area.

- Remain on FoH Layout tab.
-
Landing Page
-
Check Enable to utilize the landing page on the FOH app
-
You can also upload an image (logo) by "click here or drag images here". Images will use the left side of the screen, while the four action buttons will be on the right side. Note that image size is restricted to 900px-1600px X 2000px

-
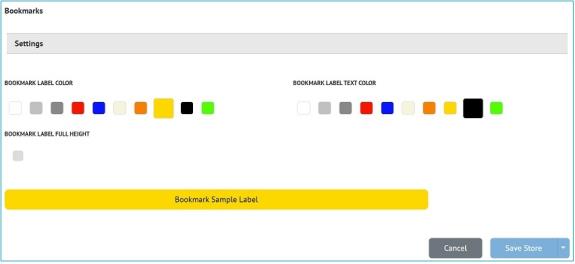
Bookmark Settings:This allows you to customize the color and height of the bookmark
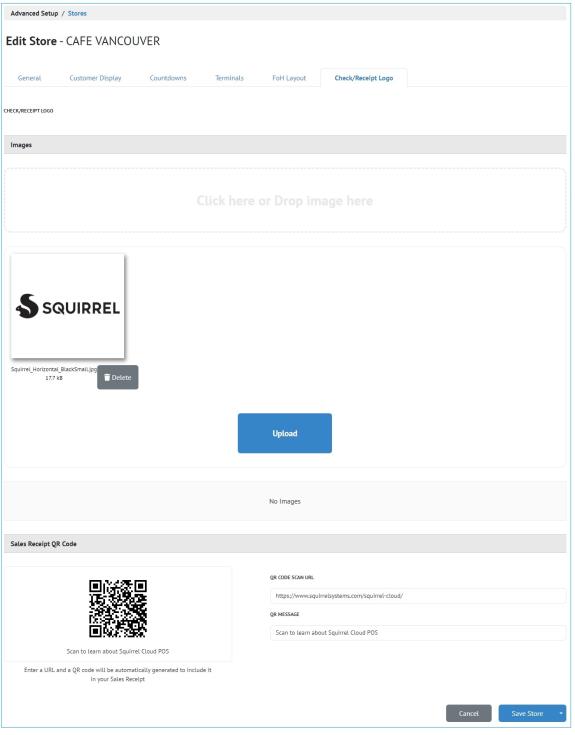
Check/Receipt Logo tab
-
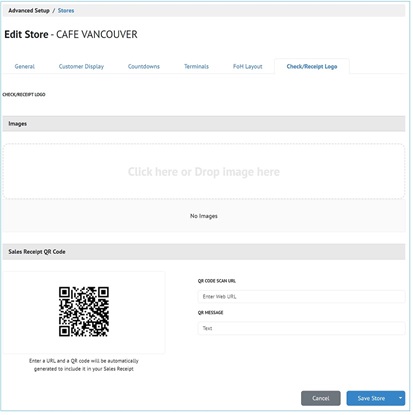
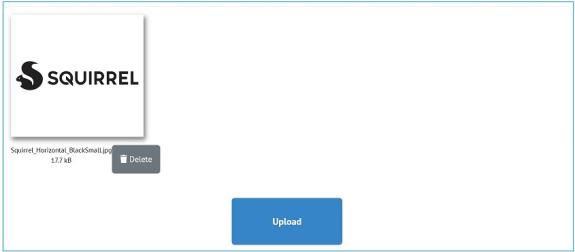
Select the Check/Receipt Logo tab. This tab allows you to add an image such as a store logo to print at the top of checks and receipts. Image size restrictions are limited to 200px X 600px.
-
Select or Drop Images to the area shown
-
Navigate to your selected image file, note that image sizes are restricted to any size between 200 x 600 pixels.
Best practice is to save the image as monochrome or black and white.
-
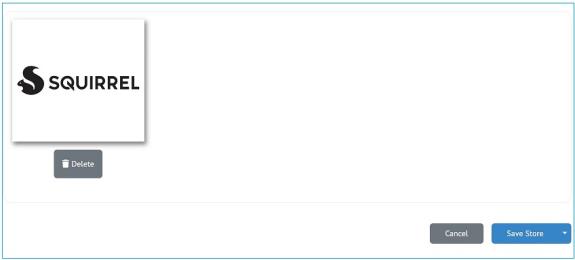
Select Upload
-
You can also create a QR code to print at the bottom of the checks and receipts.
-
In the Sales Receipt QR Code section
-
Enter the URL to create the QR code.
-
Enter the QR Code Message to print below the QR code.
Click Save Store.