Time Periods
Time periods are selected when setting up departments. Time periods must be configured here first.
- On the Advanced Setup > Time Periods page, click Add Time Period.
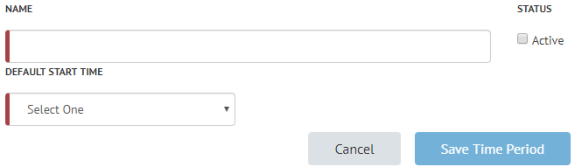
- The Add Time Period page appears. Complete the following fields:
- Name: Enter a name for the time period, such as "Breakfast."
- Status: Select the Active flag to enable this time period.
- Default Start Time: Select a default start time for the time period. This can be overwritten for individual departments in department setup.
- Click Save Time Period.