Creating a Printer Group
Menu items are assigned to printer groups. Printers must first be added before being assigned to a printer group. To add a printer, refer to the Adding a Printer article.
- On the Advanced Setup > Printer Groups page, click Add Printer Group.
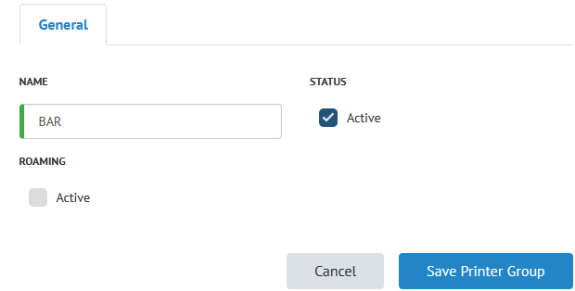
- The Add Printer Group page appears. Complete the following fields:
- Name: Enter a name for the printer group.
- Status: Select the Active flag to enable the printer group.
- Roaming: Allows printers in this printer group to be assigned at a terminal as a terminal route. When assigned at a terminal, requisitions for menu entries that are a) assigned to this printer group, and b) ordered from this terminal are routed to the printer selected at POS.
Roaming printer groups allow you to send requisitions independently to the closest location to a terminal. To illustrate an example, assume the following:
- An operation has two physical bars that are far away from one another (upstairs and downstairs).
- Both bars have their own terminals (UP-TERM and DOWN-TERM) and requisition printer (UP-REQ and DOWN-REQ) that are located close to each bar.
- All alcoholic beverages are assigned to the same printer group (e.g. BAR)
- Both UP-REQ and DOWN-REQ are assigned to the BAR printer group.
This configuration will result in drinks ordered from UP-TERM and DOWN-TERM to print at both requisition printers.
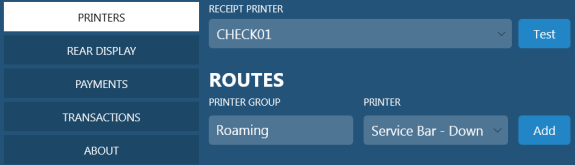
If you are ordering a drink from UP-TERM, you want to ensure the requisition prints at UP-REQ. On UP-TERM, you assign the BAR printer group to the UP-REQ printer group (and vice-versa for DOWN-TERM and DOWN-REQ).
- Click Save Printer Group.