Creating Promotions
Promotions (promos) are used to remove or reduce the cost of items for promotional purposes, such as giving a guest a free dessert on their birthday or honoring promotional coupons.
The Promotions screen consists of a General, Barcodes, and Schedule tab.
On the Advanced Setup > Promotions screen, click Add Promotion. The Add Promotion page appears with the General tab active.
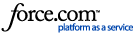
Under the General Tab
- Name field, enter a name for the promotion. This name appears on the promotion button at POS and in reports.
- In the Type field, select the scope at which the promotion applies.
- By Menu Entry: applies the discount to one or more selected menu entries, non-revenue items, or add-ons.
- By Seat: applies the discount to all menu entries on a selected seat.
- By Check: applies the discount to the check total.
- In the Value Type field, select % or $.
- %: applies a percentage discount up to the Maximum Discount amount.
- $: applies a fixed dollar discount.
- In the Discount field, enter the value that is to be applied by the promo based on the Value Type selected, % or $.
- If % is selected in Value Type and Open Promo is not enabled, enter a dollar amount in the Maximum Discount field. Percentage-based discounts will not exceed this amount.
- Enable the Open Promo flag if servers should be prompted to enter a percentage or dollar value for the promotion at POS. When Open Promo is enabled, the Discount field is not required.
- Enable the Show On-Screen flag to display the promotion button on the Front of House screen. Disable this flag to hide the promotion button at POS.
- In the Cross Reference field, enter an optional cross-reference number for reporting purposes.
- Enable the Prompt for Reason flag if the server should be prompted to enter or select a reason when applying the promotion.
- Enable the Unrestricted flag to allow any Front of House user to apply this promotion regardless of their role permissions.
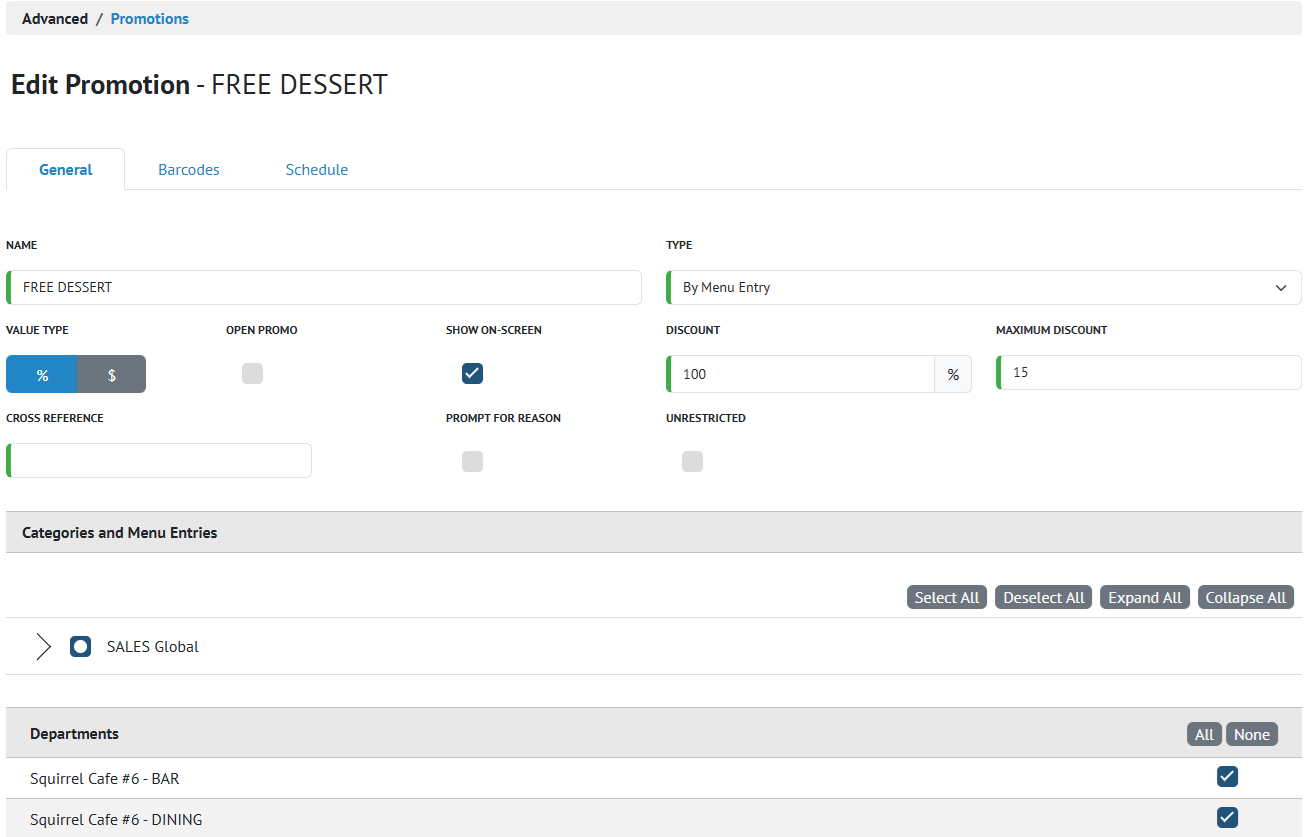
Under Categories and Menu Entries select the categories, menu entries, non-revenue items, or add-ons the promotion can be applied to. Gift cards and modifiers cannot be selected.
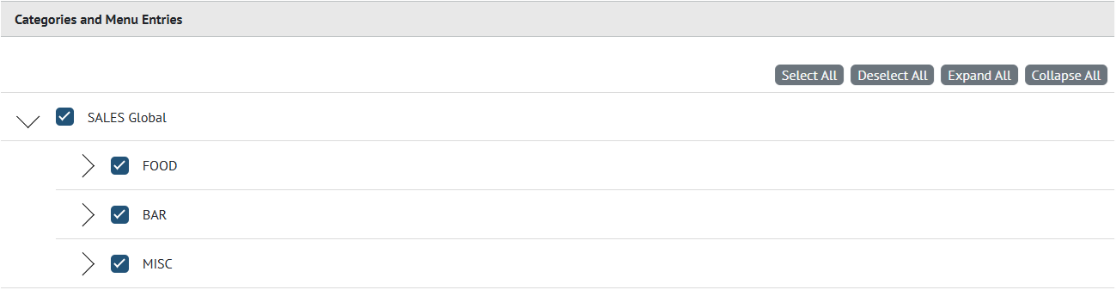
Under the Departments header, select which departments the promotion should be available in.
NOTE: When multiple promotions are applied to the same seat or check, percentage-based promotions are applied before dollar-off promotions.
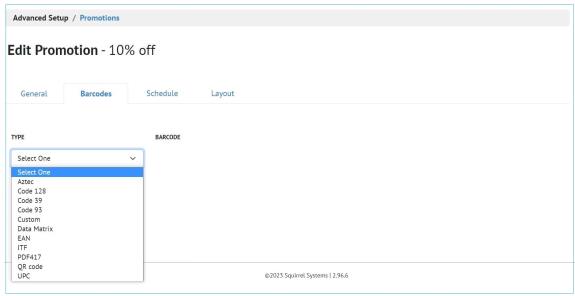
Under the Barcodes Tab
(Optional) Click the Barcodes tab. Setting up a barcode allows the promotion to be applied by scanning a QR code or barcode using an attached scanner, camera, or keyboard input.
- In the Type dropdown, select the barcode type.
- Enter the barcode value in the barcode number field.
Under the Schedule Tab
(Optional) Click the Schedule tab. Promo schedules define when a promotion is available in each department. For each department selected on the General tab, select a scheduling option.
- Always: the promotion is available in the department at all times.
- Weekly: set a recurring time period each day of the week during which the promotion is available.
- Specific: set a specific date and time range during which the promotion is available.


NOTE: By default, promotions are not restricted to a schedule and are set to Always.
Click Save Promotion.