Floor Plans
Floor plans serve as the blueprint for creating a functional floor map within the Squirrel Cloud POS app. They provide you with a visual representation of your restaurant's table layout, allowing you to conveniently select their desired tables from a graphical interface. A floor plan can only be configured for table-style departments, not check-style departments. (Click here learn more about Table and Check styles).
To create a floor plan
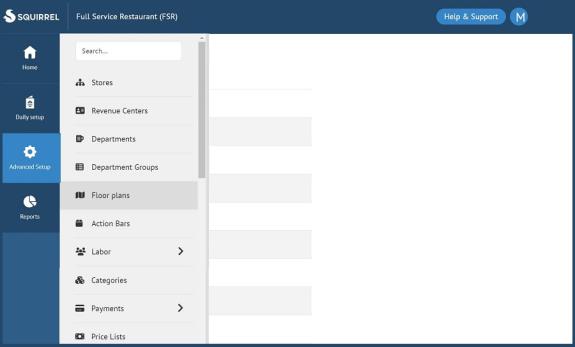
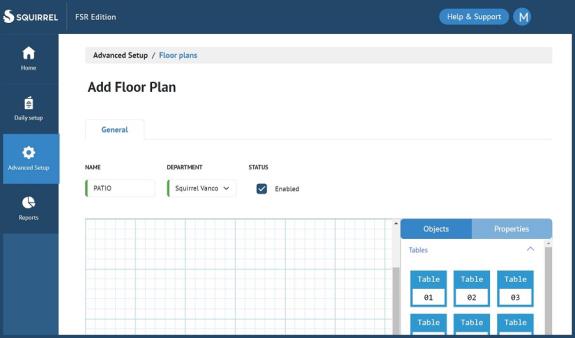
Navigate to Advanced Setup > Floor Plans.
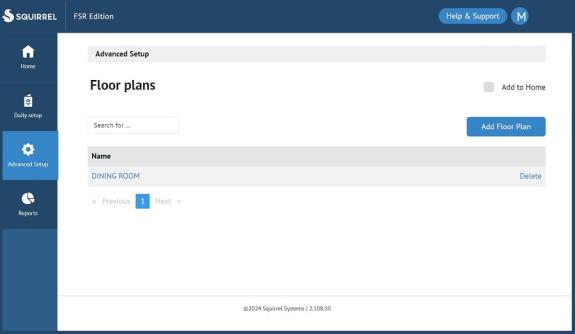
Select Add Floor Plan.
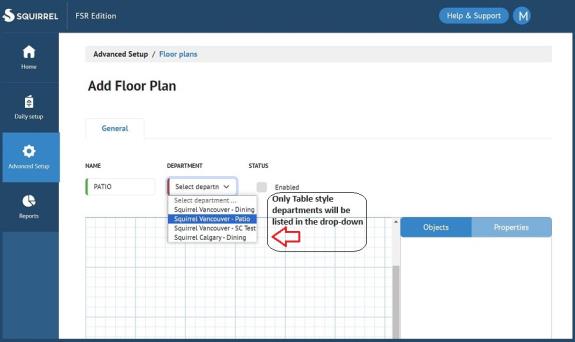
Enter the name of your floor plan-free form.
Elect the department from the drop-down list for which you are creating a floor plan. If the drop-down is empty please click here learn more about Table style departments.
Under Status select Enabled in the check box to make the floor plan visible in the FOH app.
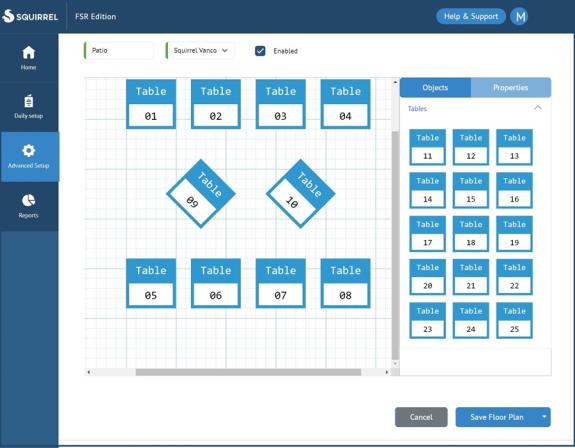
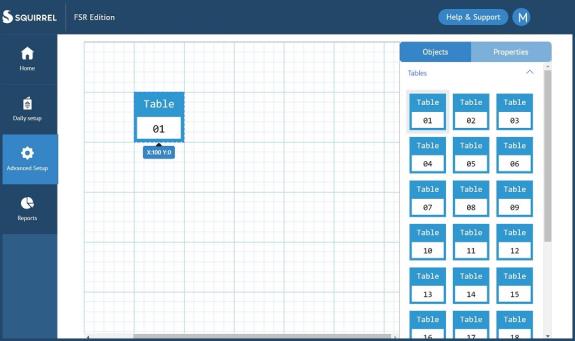
Select the table and drag it onto the floor map grid in accordance with your physical floor plan layout. On the right side of the screen, you should see "Objects" and "Properties." Objects represent tables that you will place on the floor map, while Properties organizes the attributes of the tables, including their type, dimensions, rotation, color (for back office view only), and the option to delete them from the floor map.
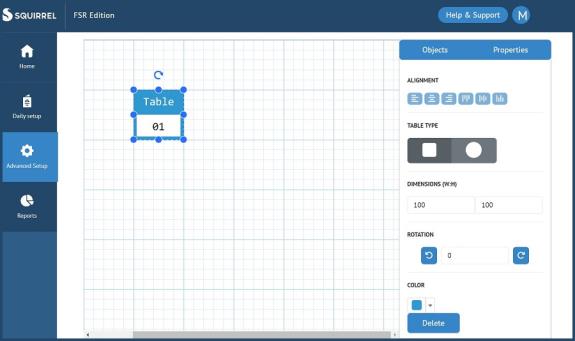
Specify the "Properties". See Table Properties description Below:
| Attribute | Description | Purpose |
| Table Type | Square/Circle | Determines the shape of the table |
| Dimensions | Width : Height (W:H) | Determines the visual size of the table in pixels. |
| Rotation | Degree measure | Used to rotate a square table |
| Color | Color picker | For future use. |
| Delete | Deletes function | Deletes a table from the floor plan |
Notes: We have built in a lot of flexibility when creating your floor plan. You can either start by designing your complete floor plan, sections, or add tables one at a time before editing properties. PRO TIP: You can click and drag to select multiple tables on the grid and edit their properties at the same time.
Select Save Floor Plan.